Showing posts with label Tag Designs. Show all posts

Saturday, November 2, 2013

Vintage Tag Display

Hi Everyone,

So I have been trying to figure out how to store my tags that I've been making.(not an easy feat) I started scrolling through youtube and saw (chan4crafts) liked her tag display and took inspiration and made it my own. see my video link for details. http://youtu.be/bOejmLgRPaM


Sunday, October 27, 2013

Vintage Tags

Hi Everyone,

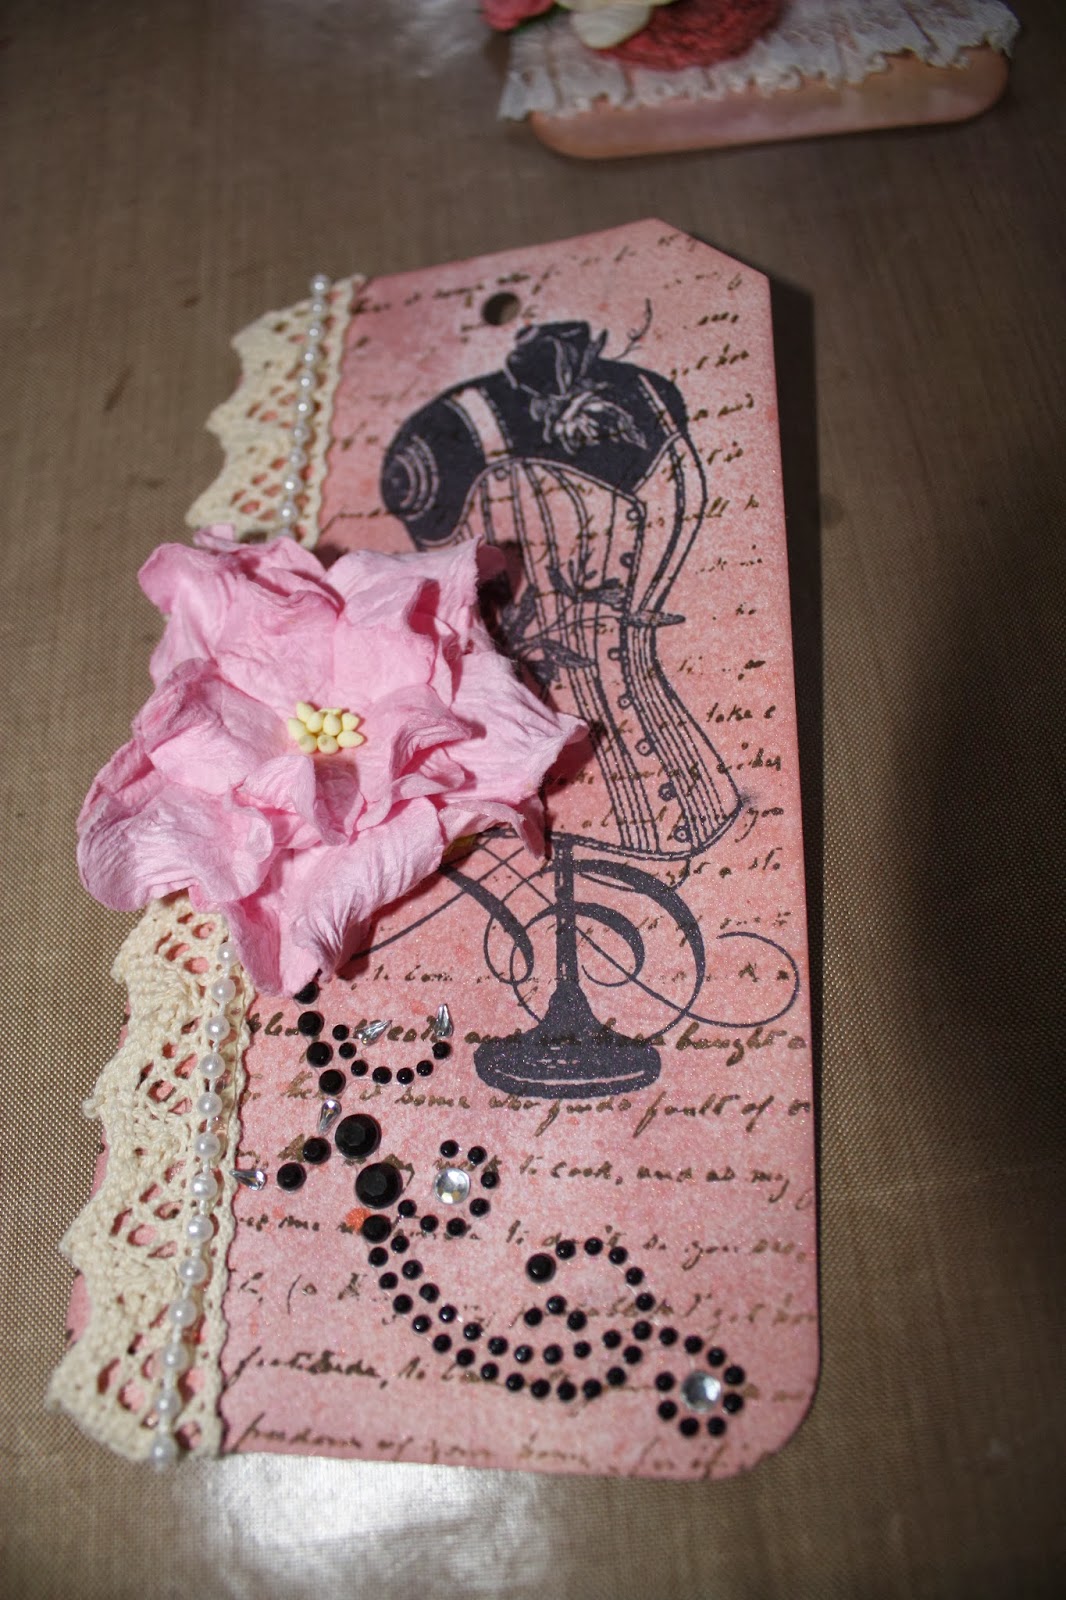
I've been working on some vintage style tags..All three tags are white #8 shipping tags. . This first tag I used Tattered Rose distress ink with a very small amount of victorian velvet ( on the bottom left corner and top left corner). I then sprayed random areas with Heidi Swapp Peach Spray. I added vintage white lace on the bottom with a pink crochet doily that I spritzed with Peach Spray and Gold then inked it with tea dye to give it some dark spots.. The flowers are from WOC and from my stash. The vintage lady is a portrait from the internet that I printed and glued to a Micheals Artminds wooden quote circle (cropping the obvious quote part... left it looking like a circle). the wooden piece was also inked with tattered rose and victorian velvet. The top is white fiber string that I spritz with Peach Spray.

Same type of shipping tag but used a stampendous dress form stamp in archival ink, word script background in vintage photo then added tattered rose and victorian velvet and embellished with WOC flower and vintage lace

In this one I used the same stamp and background colors as above but I did not add the script. Instead I added two different types of lace (one white, one pink) then added a string of pearls as my bottom base. I placed pearl spray , pink ribbon and pink white flower with black heart charm. Inside the Heart Charm I added Liquid Pearls in Platinum Pearl.

These are the tags I've been working on this weekend. =) Thanks for reading. 


Tuesday, October 22, 2013

Distress Resist Tag,.. My princess

Hi again,

Yesterday I did some backgrounds with distress resist and posted them on youtube. So today, I took my distress resist tag and embellished it to give it a finished look.

In this tag i stamped the butterflies a bit to the left and added bling and flowers to compensate the empty corner on the right. I also added a love wish dream sentiment.

Here is the same type of background but I added vintage lace with 3 paper flowers sprayed with dylusions vibrant turquoise, and Passion red. I then printed a picture of my daughter in black and white and color picked some sections.. heart on her chest, her lips and her hair using Tim Holtz distress markers. The butterflies I used a martha stewart punch and distressed with with similar colors of the background.

Thank you for reading! Til next time..

Monday, October 21, 2013

Bling Tag

Hi Everyone,

I created this quick and easy tag using Tim Holtz Products. Plain white shipping tag, used embossing ink on script background then used clear embossing powder. Distressed resist with Broken China,Chipped Sapphire, Tumbled Glass, stormy Sky and Faded Jeans. Added Want 2 scrap bling borders (cut so they could fit) used a Mon Ami Abby Flower in blue. Stamped LOVE WISH DREAM on scrap paper with archival ink then distressed inked it with broken china, chipped sapphire and faded jeans added it to the tag using 3d pop squares. added some blue ribbon and voila! Instant tag...


Golden tag

Hi Everyone,

I'm posting a lot of stuff as I have been a busy girl these past couple of weeks! Getting ready for the holidays..

In this tag I took my inspiration from another blogger. As always you see something you like, you create but make it yours...

I used Tim Holtz Papillon background stamp with Tim holtz embossing ink and embossed it with a la mode clear powder. Then I took vintage photo and distressed (resist) the tag to get that nice brown look. I stamped it with the butterflies and moth stamp from papillion set with archival black ink. I hen wrapped it with leather straps for jewelry making and tied it at the edge. I placed a prima flower on top of that knot to hide it and added prima buttons and a prima butterfly in brown/gold. I finished it off with a Cherish stamp from friscars.